I was given the honor of making two silhouette quilts. They wanted the quilt to be different than the standard black and white silhouette. Something that would accent the diversity of the classroom. They turned out beautifully. It was a fun and exciting project to work on.
This is going to be a photo heavy posting and I'm going to briefly go over how I constructed them. This might be a bit dry and technical.
Each black square is about 9 by 9.5 inches. The silhouettes were sent to me via email. I went ahead and fit them to a custom sized page in Microsoft Word. That way, they would all be similar size and would fit in the black squares. Initially, I had the black squares larger but there was too much empty space. I traced the heads, backwards, onto
Wonder-Under and then fused onto the batik. I, then, cut the heads out, peeled the paper off, and fused onto the black block. Each child's name is stitched onto their silhouette, using the letters on my
Baby Lock Symphony. That completed the silhouettes
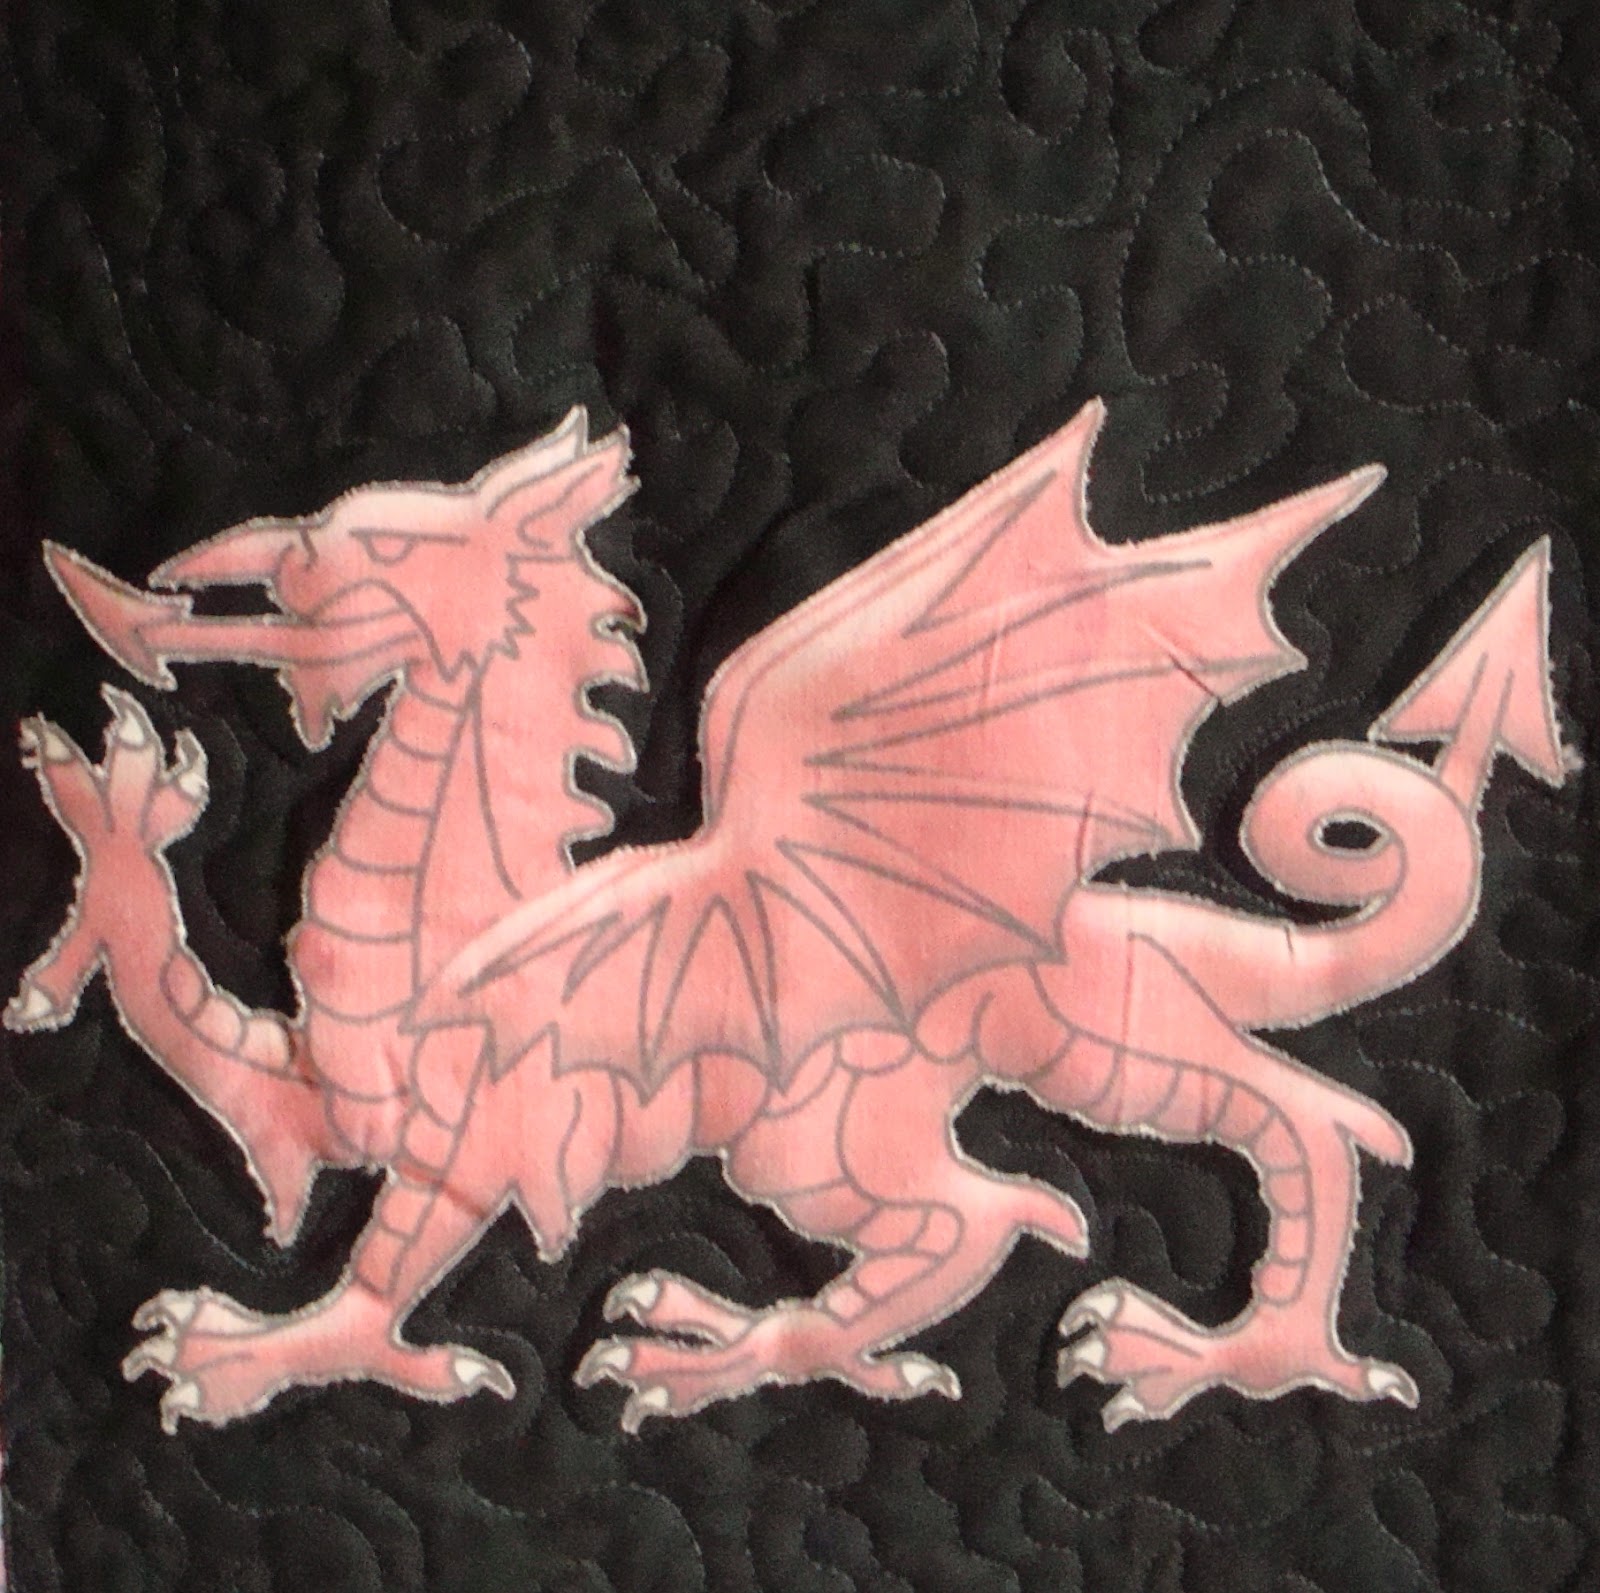
I also did blocks for the school mascot and class information. The class information blocks are sent out for embroidery by a local company that I use. The dragons were done by printing on fabric. I will share how I did that at a later time. The dragons were fused in the same manner as the silhouettes.
The blocks were sashed with 3 inch wide strips of a blue batik. Then a 6 inch red border finalized the quilt top.
I backed the quilt in black using a wide backing. FMQ in black and red. I did some SITD with clear thread on the top. The quilt was bound in a plum. When I FMQ around the silhouettes, I didn't want to actually stitch on the heads. So, I loosely went around them and meandered to fill in the space. I really enjoyed the effect on the back.
The Wonder-Under did a great job of stick through all the washing and quilting. A few silhouettes had to be fused on again, however, they reattached with no problem. I use Wonder-Under for all my applique needs and love it.
I finished off the quilts with a hanging sleeve using the method found
here. Since I didn't stitch the silhouettes down, this quilt is considered a display quilt. It just wouldn't hold up, long term, to daily use and multiple washes.
Let me know if you have any additional questions. This is something that could be easily made for your child's class. I have thought about doing one for our family. I bet the kids would love to have it, when they are grown up with families of their own.
~SLBY