Showing posts with label quilt. Show all posts

Tuesday, September 18, 2012

Store update!

Can I say that the absolute charm of Lockhart lies in the town's ample supply of superior BBQ?


Dude brought his helicopter to the restaurant!  My husband and kids were able to get a closer look, I had to run to the bathroom, after a very long drive.  He asked the pilot and friend what they were up to and I guess they were just flying in the area.  Found themselves hungry and decided to drop in.  Who does that?!?!

Awesome people, that's who!

My kids not only got to eat great but got to watch a helicopter fly off, half way through our meal.


I finally made it back to Simple Sewing Solutions!  The store definitely has a larger supply of fabric than before.  I believe they now have over 1000 bolts!

Almost as much fabric, as what's in my personal stash...

Can someone say "addiction"?

The employees I dealt with were extremely nice and helpful.  The counter top is gone but the same charm still exists.  Lots of samples, notions, and books.  If you haven't noticed yet, I'm big on samples.  I love inspiration. SSS still has some of the best prices I've seen at any LQS.

They've also updated their website with location, hours of operation and their calendar of classes and social times.  The store may have changed hands recently but beyond the missing counter, as a customer, I can't tell the difference.

Now rumor has it, and by rumor I mean Facebook, that Lockhart has added on another quilt shop called Calico Crossing.  And on their Facebook page is that coveted countertop.  I'm probably going to be the first person explaining to the police, "No, officer.  I wasn't going for the register.  I was just moving it, so I could steal the countertop."

I think Lockhart is trying to give Giddings a run for their money.  Nothing makes me happier than multiple LQSs in small towns that I pass through often.  I think my husband may have to start dining alone and bring me the leftovers.  The next time we happen through Lockhart, which unfortunately won't be for a while, I'm hoping to stop by Calico Crossing and share that new store with y'all.

I have two other stores to review, one in Shiner (the place with the BEER) and one in Corpus Christi.  I'm passed the crazy part that is the beginning of school, so I should be able to get those to y'all shortly.  And in one of those, I'll share a new iPhone app that will make finding LQSs much easier for you, in your travels.  

Much love, peace and happy quilting!

~SLBY

Wednesday, May 30, 2012

School's Out For Summer!!!!

Finally!  We made it!  I mean, my daughter made it.  This household has survived Kindergarten and our first year with a child in full time education.  I know it sounds silly.  Especially if you have older kids that are facing actual life changes like college.  This past school year has been a growing experience for my entire family.  It hasn't been easy but I love the place we are all at now.

I don't have a lot of quilting to talk about in the post.  This is more a State of SewLovedByYou address.  Where I'm headed, what I'm doing, etc.  I like lists, so...


1.  The teacher LOVED her quilt and photobook.  She teared up.  She made me tear up.  I'm so glad it went well.  I'll write a kinda in depth post about the process.  It will help those who told me the Silhouette quilt how to wasn't in depth enough.


2.  Right now my husband is headed back to school.  He is half way through his Bachelor's program.  Between his work and school schedule and having both kids out of their respective school/MDO program, I have decided to stop pressuring myself to do any shows this year.  I have tried a few times but it hasn't happened.  The scheduling puts too much stress on myself and family.  I can't tell you that I'm super excited about this but it's just another 6 months.  


3.  Just because #2 is occurring, doesn't mean that I'm fading away.  Just the opposite.  I've wanted to do more tutorials, share more of my non quilting sewing and just work on some fun projects.  Not that I don't love my custom orders but there is a certain sense of pressure when you are making something and need it to be perfect for someone else.  I want to share my daughter's room make over.  I did lots of sewing for that.  I want to make a few clothing pieces this summer.  I want to make a few art quilts.  I want to take some time to rediscover, refine and strengthen my creative side.  This makes me a lot less sore about #2.


4.  I want to redo this blog.  Badly.  I need to set up and update my photo galleries.  I'm not sure what route I'll take but I dream of having a redesigned and finished site by the time the next school year starts.


5.  I may over share my awesome summer garden.  I apologize for that right now.


6.  I've forgotten the next thing.


7.  Getting old sucks.


8.  I have a few things that I made last year and STILL haven't put on Etsy.  They are 4th of July/Patriotic home decor items.  My goal next week is to get those up on Etsy and the blog for others to see.  


That's it for now.  I hope to see you more this summer.  If you follow me on Facebook, like a post on SLBY's wall, otherwise Facebook thinks you hate me and my posts will stop coming through on your news feed.  


~SLBY

Tuesday, May 22, 2012

The making of a lion...

...well, almost a lion.  It isn't finished yet.


It all started with a very rough drawing.  As do all of my quilts.  I have a whole notebook of quilts made and quilts to be.  I have no clue why but I always have to draw them out first.


Then we traced hands.  22 of them to be exact.  Amazingly, the Kindergartners were all very compliant.  Using the rough drawing, I drew a larger lion onto Wonder Under (WU).  I know, I use that stuff a lot.  I can't help it, it is a quilter's dream.  I traced the hands onto WU too.  This is the head with the hands.


Then, I put it all together.  I made the background from two rectangles.  Then fused the lion one layer at a time.  I ended with the border.  Then it was time to stitch...


I wasn't sure how I was going to add my detail.  What was and wasn't going to get outlined.  Finally, I just went with it.  These things tend to just flow and become more clear, as you go.  I'm really in love with this lion.  He still needs to be bound and washed.  He will soften with a good washing.  

I'll add some pictures, once I'm finished.  The backing is also special but I will share that later.

~SLBY


Tuesday, April 3, 2012

Shabby Chic Pinwheel Quilt


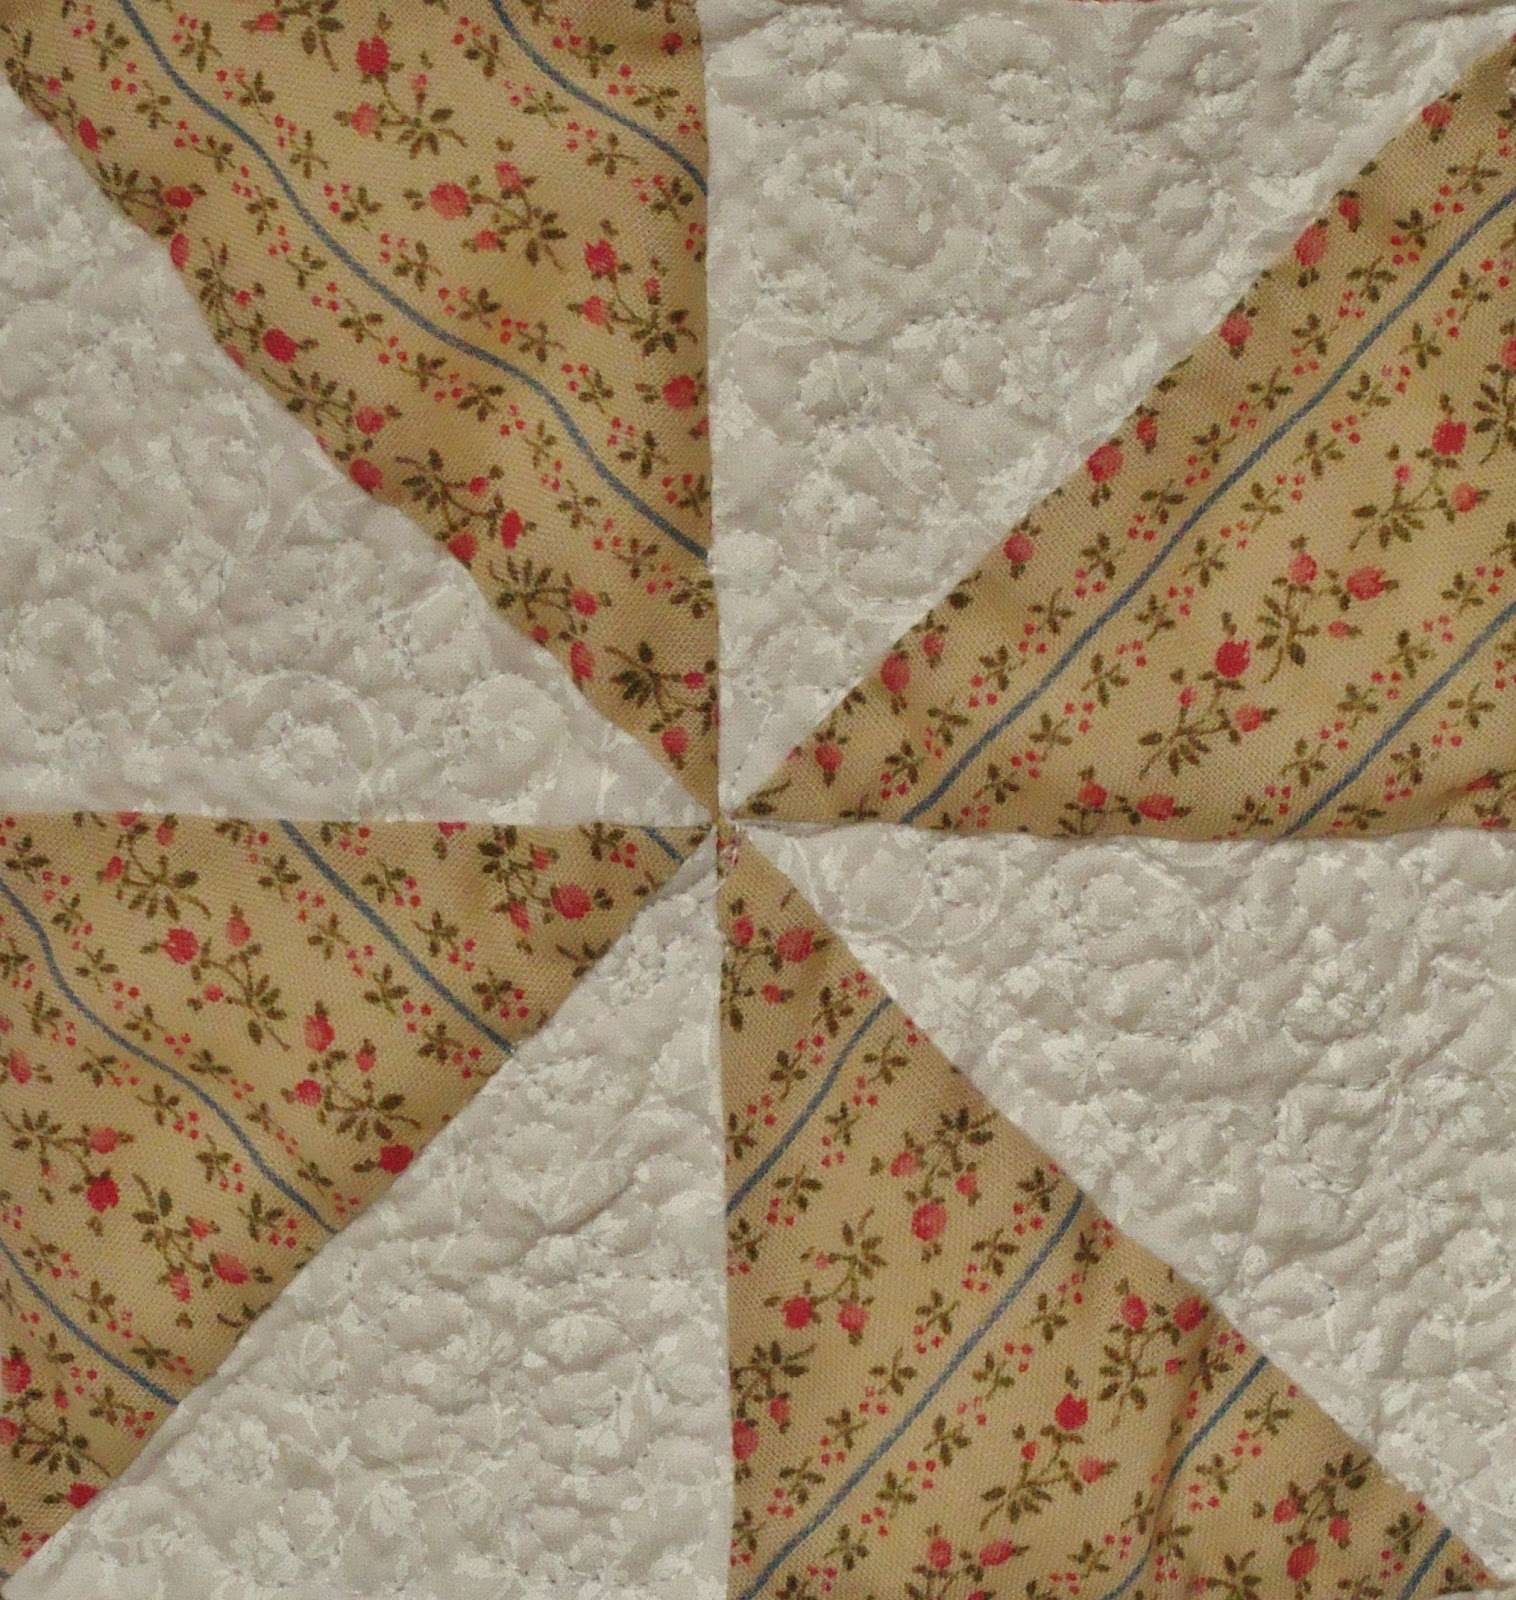
This turned out to be a gorgeous pinwheel quilt.  The colors are so soft and feminine.  I tend to not be a soft and feminine kind of girl.  Creating this quilt helped me find and unleash my soft, girly side.  It is an adult lap size quilt.  Soft pinks and blues were used to create the shabby feel.  Creams helped the pinwheels stand out but kept the colors soft.

I used this method to create the pinwheels.


They came out beautifully.  I decided to FMQ in the white space and leave the colored space untouched.  It really helped the pinwheels to pop.  It created a really nice look on the back.  


I needed to include some eyelet in the quilt and decided to use this flowering eyelet.  It isn't a traditional quilting fabric but that shouldn't ever stop you.  I loved the dimension it added and definitely flowed with the soft, shabby theme.  Always look outside the quilt fabric section for inspiration and never be afraid to try something different.


Having spent most of my life in Texas, there is definitely a slightly country side to me.  The part of me that wants to live far away from others, surrounded by trees and hills, on a sticky warm Texas summer night, quilting away to the sound of chirping crickets and other creatures in the distance.  Some day, I hope.  It is definitely part of our 10 year plan.


~SLBY

Monday, April 2, 2012

Silhouettes!


I was given the honor of making two silhouette quilts.  They wanted the quilt to be different than the standard black and white silhouette.  Something that would accent the diversity of the classroom.  They turned out beautifully.  It was a fun and exciting project to work on.


This is going to be a photo heavy posting and I'm going to briefly go over how I constructed them.  This might be a bit dry and technical.


Each black square is about 9 by 9.5 inches.  The silhouettes were sent to me via email.  I went ahead and fit them to a custom sized page in Microsoft Word.  That way, they would all be similar size and would fit in the black squares.  Initially, I had the black squares larger but there was too much empty space.  I traced the heads, backwards, onto Wonder-Under and then fused onto the batik.  I, then, cut the heads out, peeled the paper off, and fused onto the black block.  Each child's name is stitched onto their silhouette, using the letters on my Baby Lock Symphony.  That completed the silhouettes


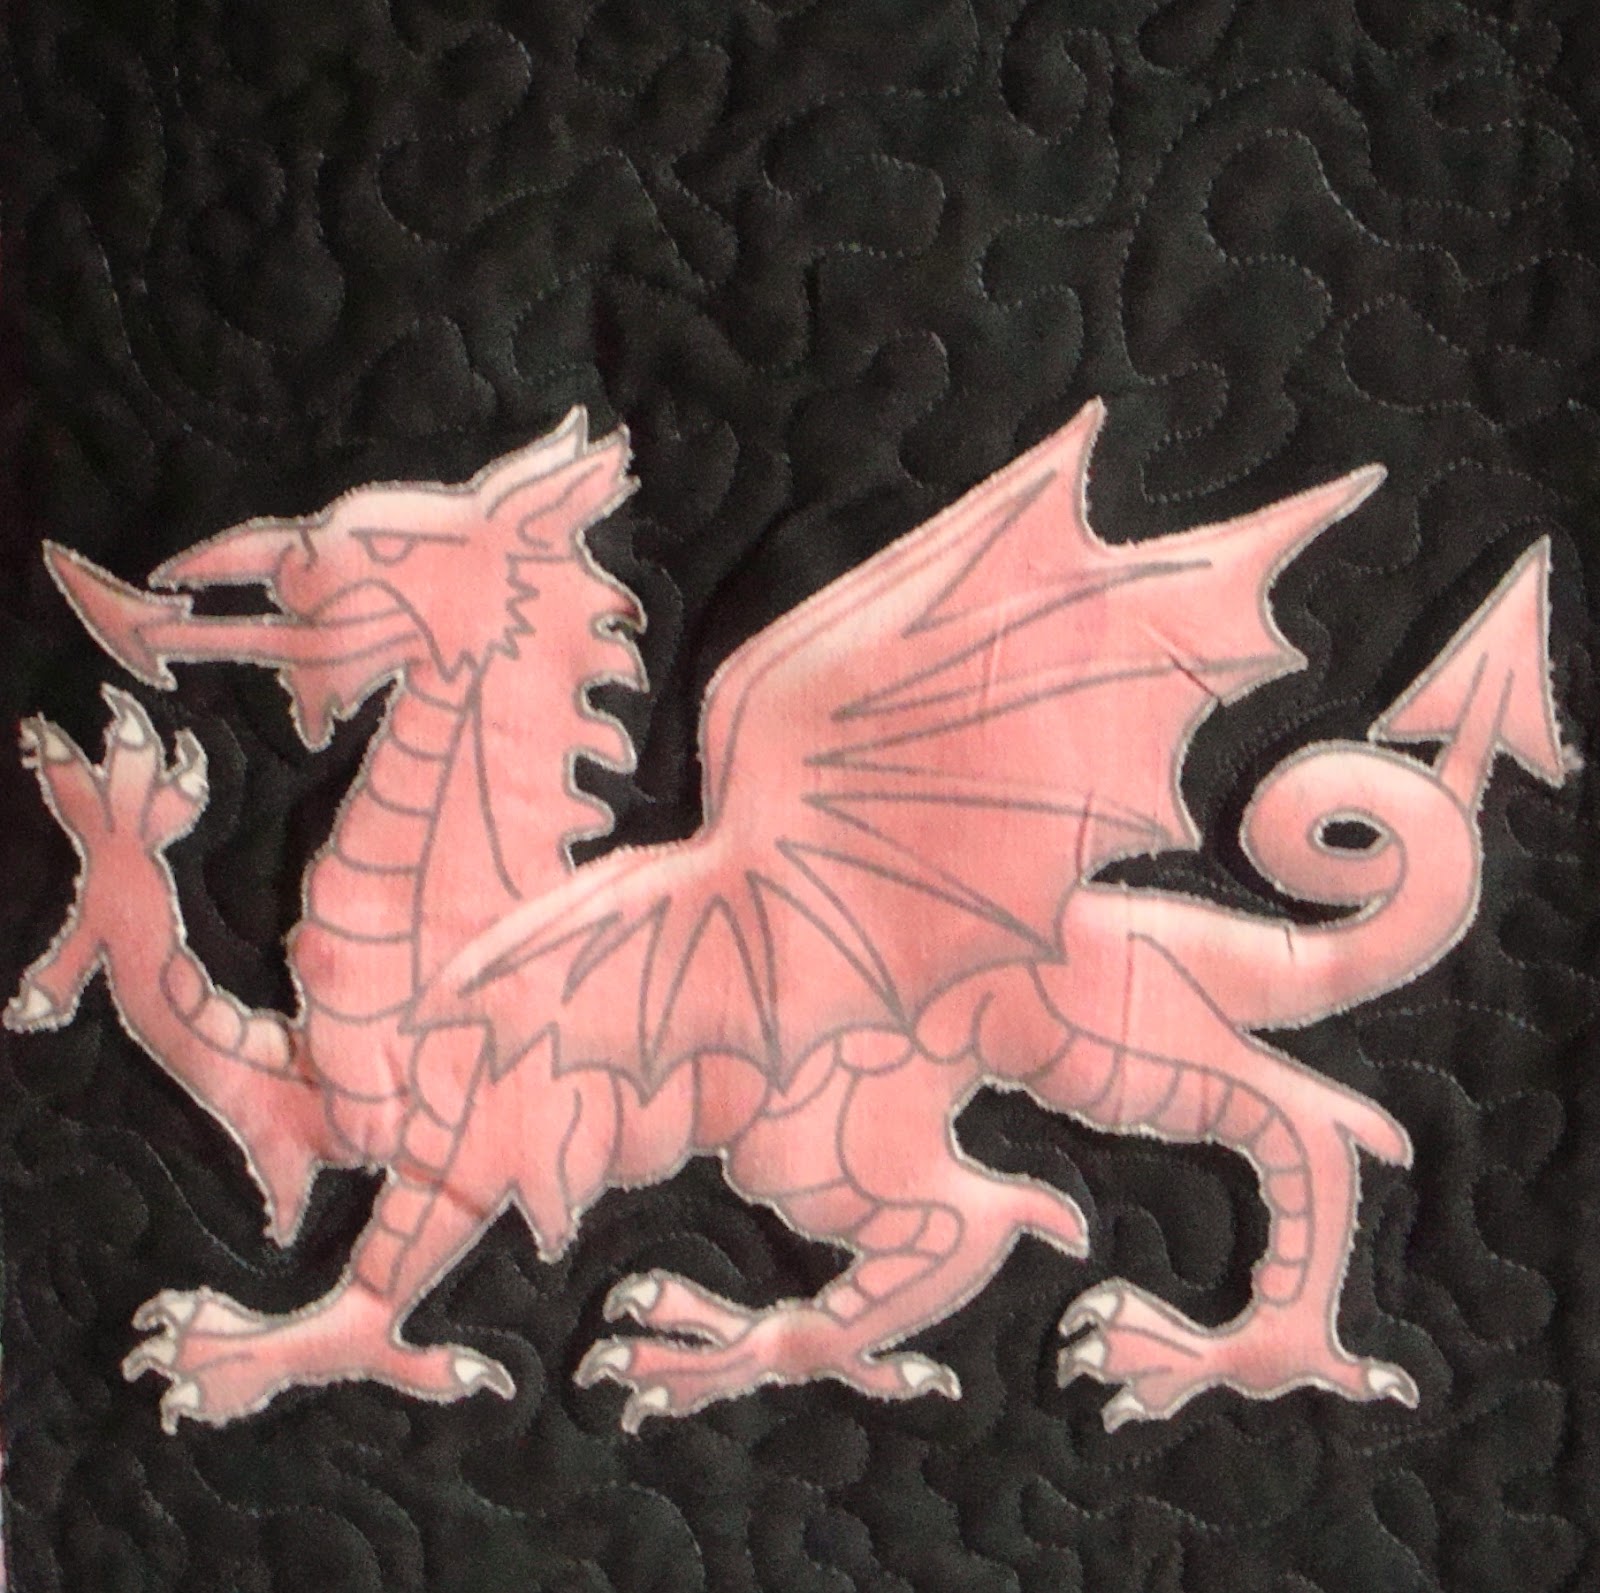
I also did blocks for the school mascot and class information.  The class information blocks are sent out for embroidery by a local company that I use.  The dragons were done by printing on fabric.  I will share how I did that at a later time.  The dragons were fused in the same manner as the silhouettes.  


The blocks were sashed with 3 inch wide strips of a blue batik.  Then a 6 inch red border finalized the quilt top.


I backed the quilt in black using a wide backing.  FMQ in black and red.  I did some SITD with clear thread on the top.  The quilt was bound in a plum.  When I FMQ around the silhouettes, I didn't want to actually stitch on the heads.  So, I loosely went around them and meandered to fill in the space.  I really enjoyed the effect on the back.


The Wonder-Under did a great job of stick through all the washing and quilting.  A few silhouettes had to be fused on again, however, they reattached with no problem.  I use Wonder-Under for all my applique needs and love it.  

I finished off the quilts with a hanging sleeve using the method found here.  Since I didn't stitch the silhouettes down, this quilt is considered a display quilt.  It just wouldn't hold up, long term, to daily use and multiple washes.  

Let me know if you have any additional questions.  This is something that could be easily made for your child's class.  I have thought about doing one for our family.  I bet the kids would love to have it, when they are grown up with families of their own.


~SLBY

Monday, January 2, 2012

Sweetness!!

I love making things for kids.  I got the chance to make e-reader clutches for two girls that received Nooks for Christmas.  Santa sure was good to them.


The first one.  I was chasing daylight, sorry for the glare.


I adore owls.  I used a rayon thread to FMQ.  I must admit, that as a cotton snob, I was surprised at how beautifully it quilted.  I wouldn't use it on a blanket but I'm going to branch out for decor and bags.


I love cute buttons!  


JoAnn's is really starting to get a larger variety of fun and functional buttons.


Any time butterflies are involved, I always quilt meandering loops.  The loops seem to move in the same way as a butterfly's flight path.  


Sweet bows!


Gorgeous! 

I loved getting the opportunity to make these.


~SLBY

Thursday, December 8, 2011

Pinwheel Tutorial

Ever discover a really easy way to do something and feel like you are the last person to know?  That's where I was earlier this week.  I'm doing a shabby chic pinwheel quilt for a customer.  I was hopping around on the Internet looking for some ideas on pinwheels, sizes, etc.  I happened across a new way to cut pinwheels that was incredibly fast.

Here we go:


I needed 24 blocks that were 6 inches finished.  Basic pinwheels typically have a solid color (often white) and then a print.  I started with 48 blocks that measured 5.5 inches.

I *HIGHLY* recommend you press all of these squares with a little Best Press.  I have talked about it before here.  When you work with triangles, there is always the danger of stretching and distorting the shape.  A light starch like Best Press will help give you some protection.  Plus, the stuff smells SOOOO good.


Take two squares (one solid and one print)....


...and put them right sides together.

You will then sew around the edges using a quarter inch seam allowance.  There are two things that will make this process SO much easier.


The first thing is a quarter inch foot.  This is something that I didn't have with my last machine.  It came with my Symphony.  I adore this foot.  Mine is a generous 1/4 inch.  If I really need a precise 1/4, then I would use the 1/4 inch markings on my machine.  I am amazed at how much easier this foot makes piecing.  I flew through these squares.


The other is the pivot option on my machine.  When the pivot option is selected (the picture of the presser foot that the huge red arrow is point to), the foot comes up with the needle down, every time I stop sewing.  It is amazing how much faster you can go around a square when you don't have to stop, lift, turn, lower, go.

All I have to do is stop...


Turn...


And keep going.

Once your squares all done, head to the cutting mat.


Now we have a square that has a seam sewn around all 4 sides.  


You are going to cut on the diagonal from one corner to another.


Then put the two halves back together and rotate to the other diagonal.


Cut along the second diagonal.  You will end up with 4 triangles.


Open the 4 triangles and you will see the classic, pinwheel squares.  Take these to your iron, set the seams and press the seams open.  Make sure the seam is pressed towards the darker fabric.  Otherwise, it will be seen through the white.  Please, stop and iron.  I only finger pressed these because I was tired and lazy, the night I took these pictures.  You will see the uneven edges that resulted from my laziness.  Be a good quilter and use your iron as much as your machine.


Now, rotate the squares into the pinwheel shape.  Sew the top two together.  Then sew the bottom two together.


One hint, if you want to use your quarter inch foot, start with the side that has the corners that hang over.  It will save you a lot of headache and ripped stitches from fabric getting bunched up.


Now take the two halves and sew them together.  **VERY IMPORTANT**  Make sure the center line (where the top two squares are sewn together and where the bottom two squares are sew together) matches up perfectly.  Line the halves up first, using the center line.  If your edges are a bit uneven, you can always square them up.  If the center line doesn't match up, your pinwheel will not look like a pinwheel.


That's it!  I did these in batches.  I sewed all of them together.  Then took 4 or so at a time and cut, pressed, and sew back together.  

I thought a pinwheel quilt was going to take me a long time but these flew by.  You could easily sew a smaller pinwheel quilt in a day, using this technique.  Once the quilt is finished and with the end user, I will post a picture.  I did some cute things with it and can't wait to share.  If you try this, please share some pictures with me.  I would love to see what you do with this.

Thank you to MissouriQuiltCo for posting this tutorial on YouTube.

Enjoy!

~SLBY