Monday, April 2, 2012

Silhouettes!


I was given the honor of making two silhouette quilts.  They wanted the quilt to be different than the standard black and white silhouette.  Something that would accent the diversity of the classroom.  They turned out beautifully.  It was a fun and exciting project to work on.


This is going to be a photo heavy posting and I'm going to briefly go over how I constructed them.  This might be a bit dry and technical.


Each black square is about 9 by 9.5 inches.  The silhouettes were sent to me via email.  I went ahead and fit them to a custom sized page in Microsoft Word.  That way, they would all be similar size and would fit in the black squares.  Initially, I had the black squares larger but there was too much empty space.  I traced the heads, backwards, onto Wonder-Under and then fused onto the batik.  I, then, cut the heads out, peeled the paper off, and fused onto the black block.  Each child's name is stitched onto their silhouette, using the letters on my Baby Lock Symphony.  That completed the silhouettes


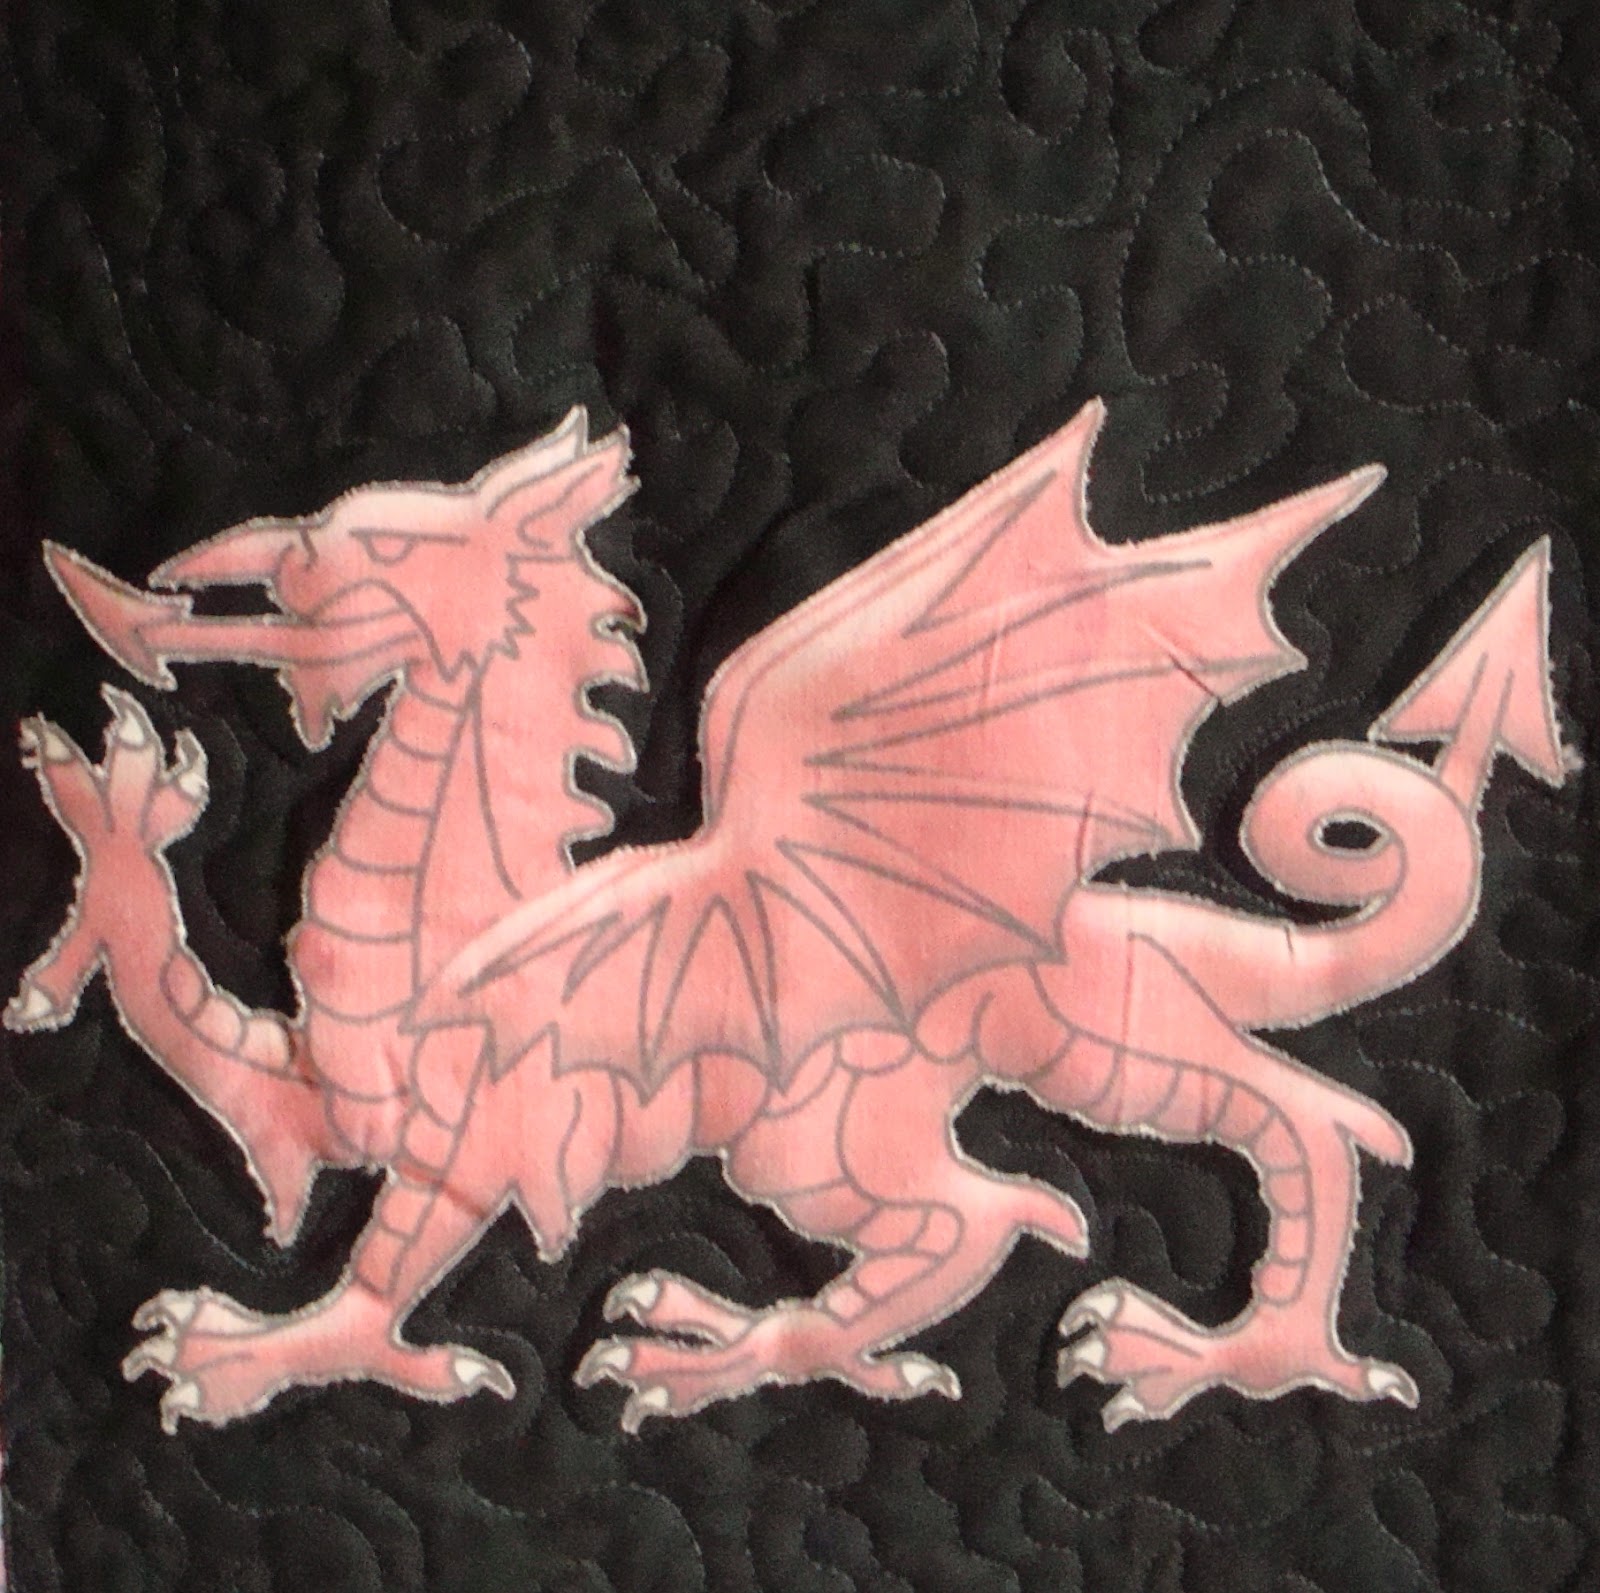
I also did blocks for the school mascot and class information.  The class information blocks are sent out for embroidery by a local company that I use.  The dragons were done by printing on fabric.  I will share how I did that at a later time.  The dragons were fused in the same manner as the silhouettes.  


The blocks were sashed with 3 inch wide strips of a blue batik.  Then a 6 inch red border finalized the quilt top.


I backed the quilt in black using a wide backing.  FMQ in black and red.  I did some SITD with clear thread on the top.  The quilt was bound in a plum.  When I FMQ around the silhouettes, I didn't want to actually stitch on the heads.  So, I loosely went around them and meandered to fill in the space.  I really enjoyed the effect on the back.


The Wonder-Under did a great job of stick through all the washing and quilting.  A few silhouettes had to be fused on again, however, they reattached with no problem.  I use Wonder-Under for all my applique needs and love it.  

I finished off the quilts with a hanging sleeve using the method found here.  Since I didn't stitch the silhouettes down, this quilt is considered a display quilt.  It just wouldn't hold up, long term, to daily use and multiple washes.  

Let me know if you have any additional questions.  This is something that could be easily made for your child's class.  I have thought about doing one for our family.  I bet the kids would love to have it, when they are grown up with families of their own.


~SLBY

Monday, March 5, 2012

Miss you!

It has been so long!

I'm currently finishing up a big quilt project for a first grade class.  I'm excited to show you all the finished quilts.  Here are some badly taken, iPhone photos.  They give you an sneak peek to the final product.


I did some fabric printing, using items I had on hand.  I can't wait to share the technique.  It was super easy and opens up a lot of opportunities.

After this is done, I'm going to prep for my first show of this year.  If all goes well, I'll work a market in May and might try to find something for late April.  Can't wait to start on Spring and Summer items!!

See you soon!

~SLBY

Thursday, January 12, 2012

I've been pinned!

It's the little things, right?

I am obsessed with Pinterest.  It may be the most fantastic thing on the Internet.  AND they have an iPhone app.  There is no better way to spend all your wasted minutes.  Those waiting for the doctor, sitting in a car rider line, trapped moments.

I love Pinterest because it is an outlet for all my ideas.  I have plans for rooms in my house, quilts, birthday parties, my Spring garden, and on and on; but I never have anywhere to put those ideas.  That is where the beauty of Pinterest comes in.

Before Pinterest, I would have these ideas, I would promise myself I would remember them and as soon as you could say promise, they were gone from my mind.  I blame my kids for that.  Or I would end up with a million, disorganized Internet bookmarks.  Now, I can create boards on Pinterest.  I can create boards for whatever I want and *pin* pictures that link back to websites that contain all my ideas.  These pins maybe a repin from someone else.  Or you may have wondered upon something online, that you want to pin.  You can put a "Pin It" button in your bookmarks and pin that item to your board.

That brings me to why I'm talking about Pinterest.

SOMEONE PINNED ME!!!!!

Me!  OMG!  Me!

I've been pinned!


 A complete stranger found my blog, liked something they saw and decided they might want to recreate it in the future.  I almost sent her a note, thanking her for loving me but I thought that might have been a bit too much.


You can share your boards with your friends, strangers, whoever you want.  I love seeing not only my friends' pins but their board ideas.  It has helped me to get to know so many people, so much better.  And my friends have the absolutely best ideas.    

Pinterest is an invite only site.  You can request an invite from Pinterest by clicking on that big red picture above or from a friend who is already pinning.  If you are already a pinner, feel free to follow me.  You will find a link on the right hand column on this blog.

Pin away folks!


~SLBY

Monday, January 2, 2012

Sweetness!!

I love making things for kids.  I got the chance to make e-reader clutches for two girls that received Nooks for Christmas.  Santa sure was good to them.


The first one.  I was chasing daylight, sorry for the glare.


I adore owls.  I used a rayon thread to FMQ.  I must admit, that as a cotton snob, I was surprised at how beautifully it quilted.  I wouldn't use it on a blanket but I'm going to branch out for decor and bags.


I love cute buttons!  


JoAnn's is really starting to get a larger variety of fun and functional buttons.


Any time butterflies are involved, I always quilt meandering loops.  The loops seem to move in the same way as a butterfly's flight path.  


Sweet bows!


Gorgeous! 

I loved getting the opportunity to make these.


~SLBY

Sunday, December 25, 2011

Merry Christmas!

From us...


To you!

My wish for you is lots of laughter...


An extra hand...


And undeniably pure love...


Hug your loved ones tight.  Cherish each moment.  We can be so arrogant in assuming tomorrow will come.


~SLBY

Thursday, December 8, 2011

Pinwheel Tutorial

Ever discover a really easy way to do something and feel like you are the last person to know?  That's where I was earlier this week.  I'm doing a shabby chic pinwheel quilt for a customer.  I was hopping around on the Internet looking for some ideas on pinwheels, sizes, etc.  I happened across a new way to cut pinwheels that was incredibly fast.

Here we go:


I needed 24 blocks that were 6 inches finished.  Basic pinwheels typically have a solid color (often white) and then a print.  I started with 48 blocks that measured 5.5 inches.

I *HIGHLY* recommend you press all of these squares with a little Best Press.  I have talked about it before here.  When you work with triangles, there is always the danger of stretching and distorting the shape.  A light starch like Best Press will help give you some protection.  Plus, the stuff smells SOOOO good.


Take two squares (one solid and one print)....


...and put them right sides together.

You will then sew around the edges using a quarter inch seam allowance.  There are two things that will make this process SO much easier.


The first thing is a quarter inch foot.  This is something that I didn't have with my last machine.  It came with my Symphony.  I adore this foot.  Mine is a generous 1/4 inch.  If I really need a precise 1/4, then I would use the 1/4 inch markings on my machine.  I am amazed at how much easier this foot makes piecing.  I flew through these squares.


The other is the pivot option on my machine.  When the pivot option is selected (the picture of the presser foot that the huge red arrow is point to), the foot comes up with the needle down, every time I stop sewing.  It is amazing how much faster you can go around a square when you don't have to stop, lift, turn, lower, go.

All I have to do is stop...


Turn...


And keep going.

Once your squares all done, head to the cutting mat.


Now we have a square that has a seam sewn around all 4 sides.  


You are going to cut on the diagonal from one corner to another.


Then put the two halves back together and rotate to the other diagonal.


Cut along the second diagonal.  You will end up with 4 triangles.


Open the 4 triangles and you will see the classic, pinwheel squares.  Take these to your iron, set the seams and press the seams open.  Make sure the seam is pressed towards the darker fabric.  Otherwise, it will be seen through the white.  Please, stop and iron.  I only finger pressed these because I was tired and lazy, the night I took these pictures.  You will see the uneven edges that resulted from my laziness.  Be a good quilter and use your iron as much as your machine.


Now, rotate the squares into the pinwheel shape.  Sew the top two together.  Then sew the bottom two together.


One hint, if you want to use your quarter inch foot, start with the side that has the corners that hang over.  It will save you a lot of headache and ripped stitches from fabric getting bunched up.


Now take the two halves and sew them together.  **VERY IMPORTANT**  Make sure the center line (where the top two squares are sewn together and where the bottom two squares are sew together) matches up perfectly.  Line the halves up first, using the center line.  If your edges are a bit uneven, you can always square them up.  If the center line doesn't match up, your pinwheel will not look like a pinwheel.


That's it!  I did these in batches.  I sewed all of them together.  Then took 4 or so at a time and cut, pressed, and sew back together.  

I thought a pinwheel quilt was going to take me a long time but these flew by.  You could easily sew a smaller pinwheel quilt in a day, using this technique.  Once the quilt is finished and with the end user, I will post a picture.  I did some cute things with it and can't wait to share.  If you try this, please share some pictures with me.  I would love to see what you do with this.

Thank you to MissouriQuiltCo for posting this tutorial on YouTube.

Enjoy!

~SLBY

Friday, December 2, 2011

New and Improved E-Reader Clutch

Just for the record, that is absolutely the worst title for a blog post.  I could not come up with anything creative.  2 days of thinking and stressing brought about nothing.  So, I went with straight forward.  Boring but efficient.


I recently completed an e-reader clutch on my new BabyLock Symphony.  Not only is it my first e-reader clutch on this machine but it also my first, albeit small, quilting project using my Symphony.  I love that I was able to FMQ, utility stitch and decorative stitch, all in one project.  Not only has the new machine increased the quality of my clutches but I get to add a lot of fun, unique touches to each clutch.


FMQ is wonderful on this machine.  I did it both with the foot and with just the start/stop.  My stitches are far more regular.  The machine really glides and the large extension table gives me adequate room.  As does the large throat space.


I got daring and tried a new FMQ design.  It turned out really well.  I saw the design and many others here.  It is a great site for inspiration.


I was able to bind off the pocket using a decorative stitch.  Typically, I bind the pocket, as I bind anything.  Machine straight stitch on, fold over, press and ladder stitch closed by hand.  I decided to use a decorative stitch because, well... I CAN!!!  

I don't usually put a button hole in but I can actually put one in large enough, that it worked out.  No more having to use the elastic string to keep these closed.  I also used the machine to sew the button on.  My machine can sew buttons!  And it was such a simple process.  I have used a buttonholer before and Symphony's is straight forward.  The button foot was equally simple and after a user error, I got it perfectly on the second try.


I am also able to make my own tags.  I was doing these really sad tags that were handwritten with permanent marker.  This was a first rough design.  I'd like to get some printer fabric and do a combo of printing the website and monogramming with my Symphony.  I need to get a printer first.  Then the fabric.  Then the free time to test it out.  The fancy tags will go on my list of things to do.  For now, I have something that looks at least some what professional.


This by far has been the best e-reader clutch I've made.  My FMQ has improved immensely.  I like that I can easily use and access all the added features of the Symphony.  It *really* shows on my end product.


I'm starting a pinwheel quilt tonight.  I'm salivating, I'm so excited about it.  I am using some fabrics that I've never quilted with before.  I also found a tutorial on how to quickly piece the simple pinwheels together.  I have never seen this method before.  I will share all the details, when I finish the quilt.  I am so excited about the experience.  After that, we have an upcoming short trip, which means I get to visit quilt shops and blog about them.


~SLBY